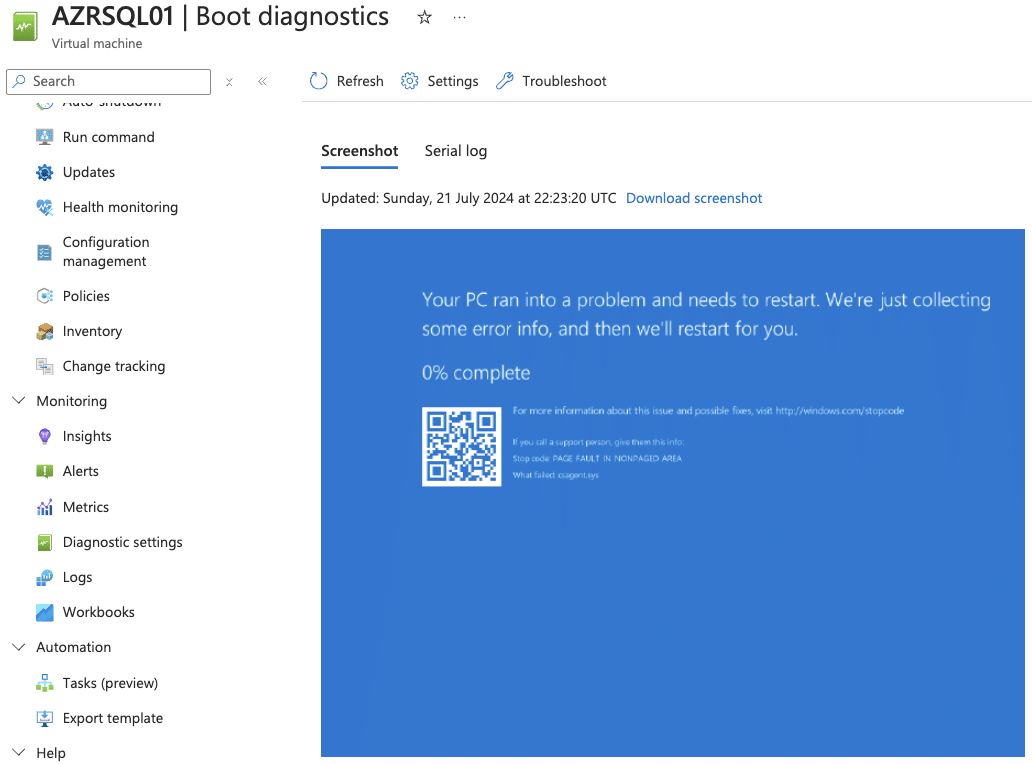
Our team spent a considerable amount of time helping customers fix their Azure VMs Friday afternoon and over the weekend. We prioritised critical workloads for customers with essential operations, such as SAP for one customer and online services for another.
If you think you’re done but want to double check for any VMs that may have been forgotten or missed check out the Azure CLI script we’ve posted to help you find VMs with symptoms in the last 12 hours.
The task list to fix the problem is below. Please note that this process is only useful if Azure disk encryption is disabled. If you have it enabled, you will need to recover from a backup.
Recovery Process for Azure BSOD Issues and CrowdStrike Cleanup
If you encounter a BSOD issue related to CrowdStrike files on your Azure virtual machine, follow these steps to recover and clean up the faulty files:
Prerequisites
- Ensure you have access to the Azure portal.
- Have a jumpbox (AVD management pool) ready for disk attachment to delete the CrowdStrike file.
Steps to Recover from BSOD and Clean Up Faulty CrowdStrike Files
Step 1: Turn Off the Affected Server
- In the Azure portal, navigate to the affected virtual machine.
- Stop the virtual machine to ensure data consistency.
Step 2: Create a Snapshot of the OS Disk
- Go to the Disks section of the affected virtual machine.
- Select the OS disk and create a snapshot.
- This snapshot will serve as a backup in case any issues arise during the recovery process.
Step 3: Create a Restored OS Disk from the Snapshot
- Navigate to the snapshot you created.
- From the snapshot, create a new managed disk.
Step 4: Attach the Restored OS Disk to a Jumpbox
- In the Azure portal, go to the jumpbox (AVD management pool).
- Attach the restored OS disk as a data disk to the jumpbox.
Step 5: Delete the Faulty CrowdStrike File
- Connect to the jumpbox via RDP or Azure Bastion.
- Open File Explorer and navigate to the restored OS drive (e.g., E:\Windows\System32\drivers\CrowdStrike). Note: It won’t be C:\ due to it being the second OS disk from the snapshot.
- Locate the file matching “C-00000291*.sys” and delete it.
Step 6: Detach the Restored OS Disk from the Jumpbox
- In the Azure portal, go to the jumpbox.
- Detach the restored OS disk.
Step 7: Swap the OS Disk of the Affected Server
- Go to the Disks section of the affected virtual machine.
- Swap the current OS disk with the restored OS disk.
Step 8: Start the Affected Server and Verify
- Start the affected virtual machine.
- Verify that the server boots up correctly and the BSOD issue is resolved.
Post-Clean Up Actions
Following this recovery process will leave behind snapshots and unused disks. These should be cleaned up post-recovery to keep your cloud costs under control.
Check out our follow up post here to find scripts to help you with this task.

