After successfully recovering your Azure VM from the BSOD issue caused by the recent CrowdStrike update, it’s crucial to perform post-clean up actions. These steps ensure that you remove unnecessary resources and avoid incurring additional costs.
The fact you’re reading this means you have plenty of other, healthy Azure resources and you need to take care removing these unused resources to not create another issue.
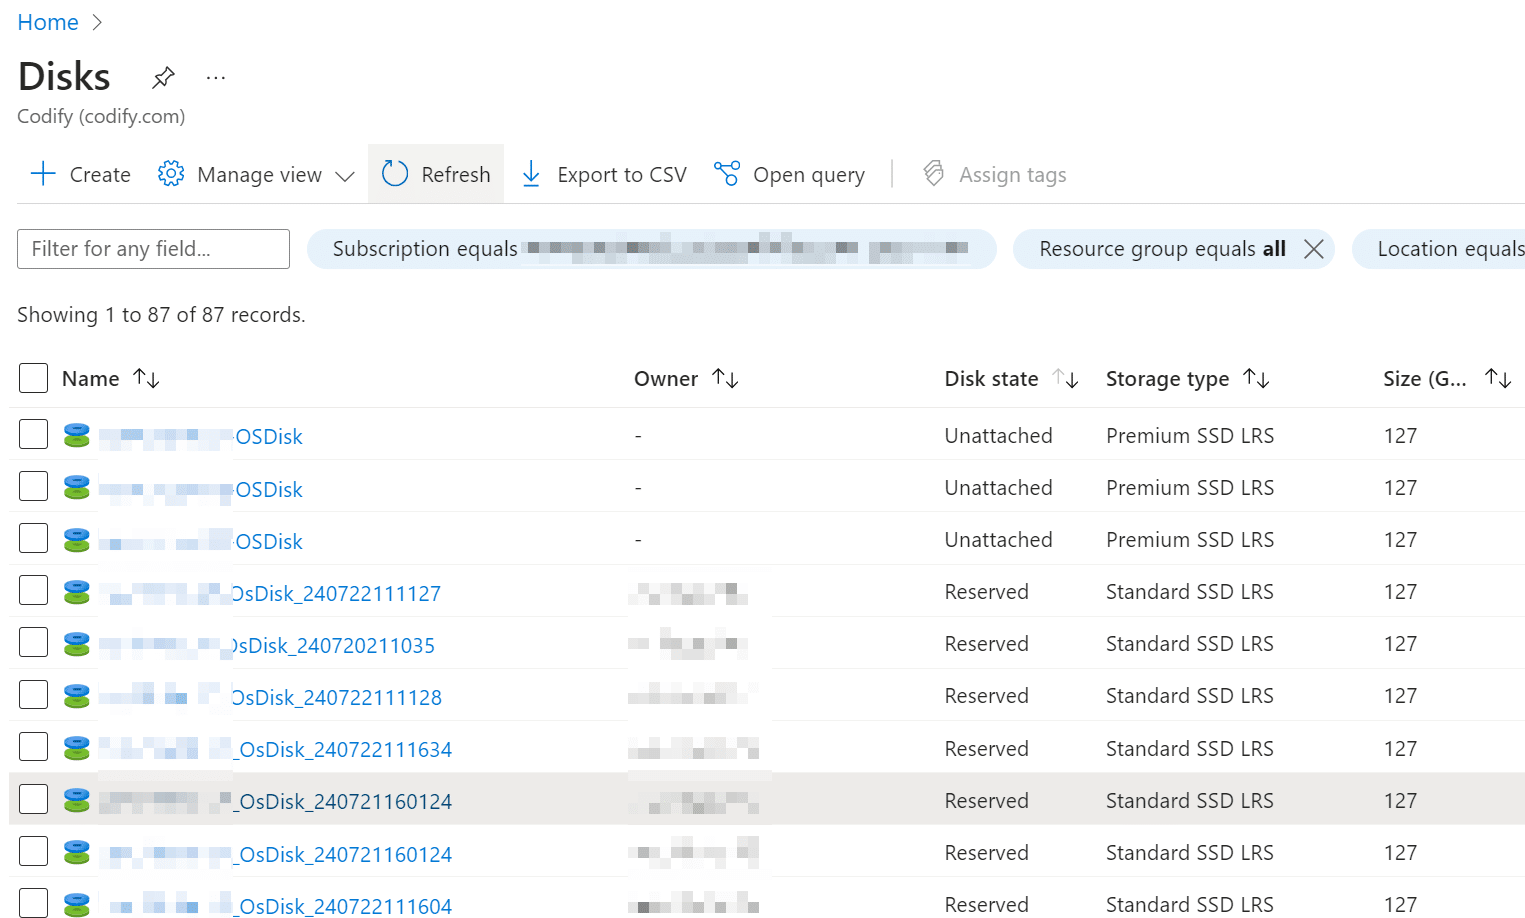
Azure Managed Disks have three states that you can use to understand if they are associated to an existing VM, used by Azure Site Recovery for multi-site DR or are unused.
- Attached – these disks are attached to VMs, you can see which one from the Owner column
- Reserved – these disks maybe either attached to VMs that is offline or being replicated by Azure Site Recovery to a different Azure Region
- Unattached – these are disks that don’t have a connection to any Azure VM or Site Recovery vault
- NOTE: if you’re using third-party Backup & DR solutions check with your vendor to make sure these disks aren’t created and managed by them before deleting them
Here’s a detailed guide on how to clean up the resources created during the recovery process.
Deleting Snapshots and Unassociated Disks
Step 1: Navigate to the Azure Portal
- Access the Azure portal using your credentials.
Step 2: Locate and Delete Snapshots
- In the Azure portal, navigate to the “Snapshots” section.
- Identify the snapshot you created for the OS disk during the recovery process.
- Delete the snapshot by selecting it and choosing the “Delete” option.
- Confirm the deletion to remove the snapshot permanently.
Step 3: Identify and Delete Unassociated Disks
- Navigate to the “Disks” section in the Azure portal.
- Look for any Unattached disks that were created from the snapshot and used during the recovery.
- Select each unassociated disk and choose the “Delete” option.
- Confirm the deletion to remove the disks permanently.
Step 4: Verify Resource Clean-Up
Double-check the “Snapshots” and “Disks” sections to ensure all unnecessary resources have been deleted.
This verification helps prevent any unexpected charges on your Azure bill.
Why Clean-Up is Important
Performing these clean-up actions is essential for several reasons:
- Cost Management: Unused snapshots and disks can incur costs. Deleting them helps manage and reduce your Azure expenses.
- Resource Optimisation: Cleaning up ensures that your Azure environment is optimised and free from clutter, making it easier to manage and navigate.
- Compliance and Governance: Maintaining a tidy and organised Azure environment supports compliance and governance policies within your organisation.

